-
Sale!
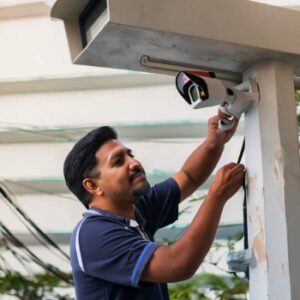
1080p wireless security camera
$356.86Original price was: $356.86.$99.99Current price is: $99.99. Add to cart -
Sale!
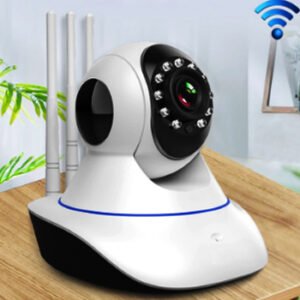
360 Panoramic Camera Mobile Phone Remote Wireless Wifi
$86.60Original price was: $86.60.$79.99Current price is: $79.99. Add to cart -
Sale!
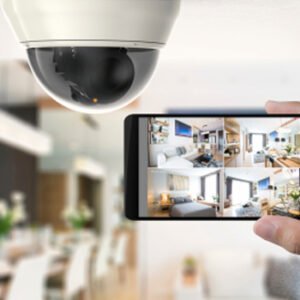
Home Surveillance Night Vision
$120.99Original price was: $120.99.$119.99Current price is: $119.99. Add to cart -
Sale!
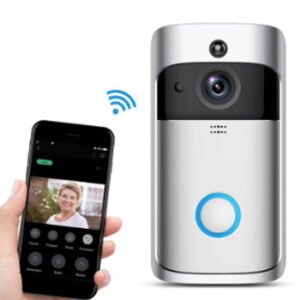
Low-power Visual Doorbell WIFI Wireless
$117.99Original price was: $117.99.$109.99Current price is: $109.99. Add to cart -
Sale!
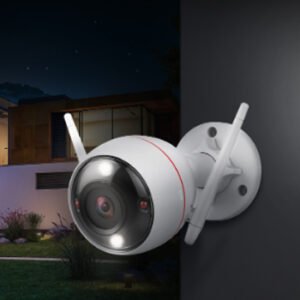
Night Vision Full Color Home Indoor Wireless
$79.99Original price was: $79.99.$69.99Current price is: $69.99. Add to cart -
Sale!

Security Remote Monitoring Camera
$99.99Original price was: $99.99.$79.99Current price is: $79.99. Add to cart -
Sale!
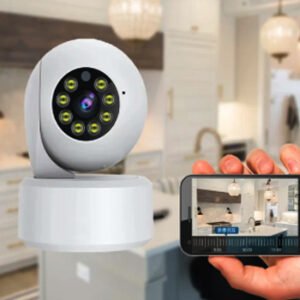
Smart Dual-light Wireless Wifi Home camera
$79.99Original price was: $79.99.$59.99Current price is: $59.99. Add to cart -
Sale!
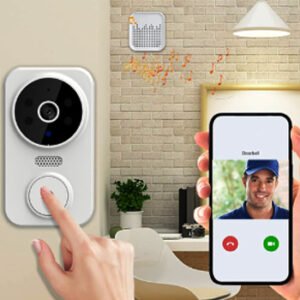
Smart Home Video Doorbell
$72.99Original price was: $72.99.$70.99Current price is: $70.99. Add to cart -
Sale!
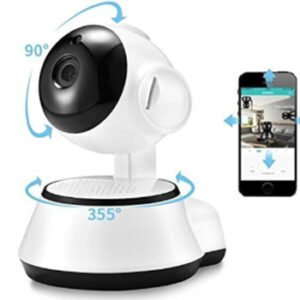
Smart Surveillance Camera Voice Wireless
$90.99Original price was: $90.99.$85.99Current price is: $85.99. Add to cart -
Sale!
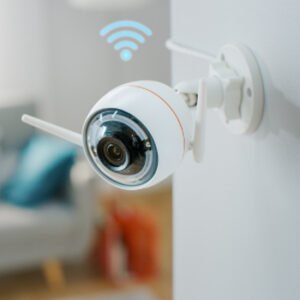
Surveillance Camera Wireless
$93.99Original price was: $93.99.$90.99Current price is: $90.99. Add to cart -
Sale!
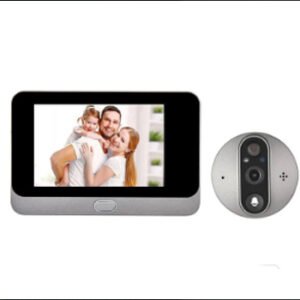
Visual smart doorbell
$220.99Original price was: $220.99.$210.99Current price is: $210.99. Add to cart -
Sale!

Wifi Video Doorbell Wireless
$160.99Original price was: $160.99.$155.99Current price is: $155.99. Add to cart
Steps to Setup Home Security Camera
Setting up a home security camera involves several steps to ensure it's properly installed and functioning. Here’s a step-by-step guide to help you through the process:
1. Choose the Right Camera
1. Determine Your Needs: Indoor or outdoor, wired or wireless, resolution (1080p, 4K), night vision, motion detection, etc.
2. Research Brands: Popular brands include Ring, Arlo, Nest, and Wyze.
2. Gather Necessary Tools and Materials
1. Tools: Drill, screws, screwdriver, ladder (if needed), cable clips (for wired cameras).
2. Materials: Camera, power supply, mounting brackets, cables (for wired cameras).
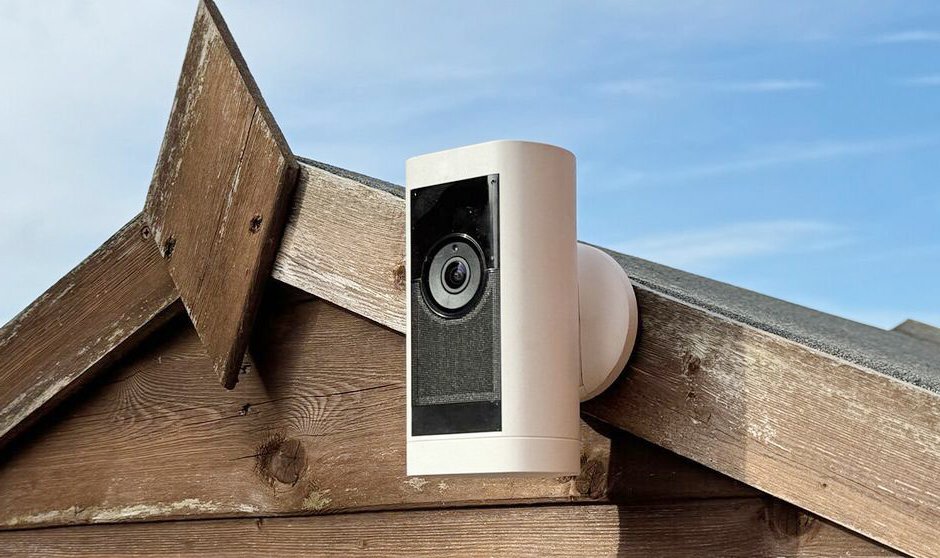
3. Select the Installation Location
1. Coverage Area: Choose a location that provides a clear view of the area you want to monitor.
2. Power Source: Ensure the camera can reach a power source if it’s not battery-operated.
3. Mounting Surface: Select a stable surface like a wall or ceiling.
4. Prepare for Installation
1. Read the Manual: Each camera model may have specific instructions.
2. Test the Camera: Power on the camera and ensure it works before mounting it.
5. Install the Camera
For Wireless Cameras:
1. Mount the Bracket: Use the provided screws and anchors to mount the bracket to the wall or ceiling.
2. Attach the Camera: Secure the camera to the bracket.
3. Connect to Power: Plug in the camera or ensure the battery is charged.
4. Position the Camera: Adjust the angle to cover the desired area.
For Wired Cameras:
1. Run the Cables: Plan the route for the cables from the camera to the DVR or power source. Use cable clips to secure the cables along walls.
2. Drill Holes: If necessary, drill holes for the cables to pass through walls.
3. Connect the Camera: Attach the camera to the bracket and connect the cables.
4. Connect to DVR/Power: Plug in the cables to the DVR and power source.
6. Set Up the Software
1. Install the App: Download the camera’s companion app on your smartphone or computer.
2. Create an Account: Sign up and log in.
3. Add the Camera: Follow the app’s instructions to add the camera to your account.
4. Configure Settings: Set up motion detection zones, alerts, and recording preferences.
7. Test the System
1. Check the View: Ensure the camera is positioned correctly and covers the intended area.
2. Test Features: Verify that motion detection, night vision, and alerts are functioning properly.
3. Adjust as Needed: Fine-tune the camera angle and settings if necessary.
8. Maintain the System
1. Regular Checks: Periodically check the camera and app to ensure everything is working.
2. Clean the Lens: Keep the camera lens clean for a clear view.
3. Update Firmware: Ensure the camera firmware is up to date for optimal performance and security.
Following these steps will help you successfully set up your home security camera system and ensure it provides reliable monitoring for your home.
Steps to setup Smart Door Bell
1. Choose the Right Smart Doorbell
1. Determine Your Needs: Look for features such as video quality (1080p, 4K), night vision, motion detection, two-way audio, and compatibility with your existing doorbell system.
2. Research Brands: Popular brands include Ring, Nest, Arlo, and Eufy.
2. Gather Necessary Tools and Materials
1. Tools: Drill, screws, screwdriver, level, ladder (if needed).
2. Materials: Smart doorbell, mounting bracket, power supply (battery or wired).

3. Select the Installation Location
1. Optimal Height: Typically, smart doorbells should be mounted around 48 inches from the ground.
2. Wi-Fi Signal: Ensure the chosen location has a strong Wi-Fi signal for seamless connectivity.
4. Turn Off Power (for Wired Doorbells)
1.Safety First: Turn off the power to your existing doorbell at the circuit breaker to avoid electrical shock.
5. Remove Existing Doorbell (if applicable)
1. Unscrew and Disconnect: Carefully remove the old doorbell and disconnect the wires.
6. Install the Mounting Bracket
1. Mark Holes: Use the mounting bracket to mark where you’ll need to drill holes.
2. Drill Holes: Drill the necessary holes for mounting.
3. Attach Bracket: Secure the mounting bracket to the wall with the provided screws.
7. Connect the Wires (for Wired Doorbells)
1. Connect Wires: Attach the existing doorbell wires to the terminals on the smart doorbell.
2. Secure Connections: Ensure the connections are tight and secure.
8. Mount the Smart Doorbell
1. Attach to Bracket: Secure the smart doorbell to the mounting bracket.
2. Check Alignment: Use a level to make sure the doorbell is aligned properly.
9. Restore Power (for Wired Doorbells)
1. Turn On Power: Restore power at the circuit breaker.
10. Set Up the Software
1. Install the App: Download the companion app for your smart doorbell on your smartphone or tablet.
2. Create an Account: Sign up and log in.
3. Add the Doorbell: Follow the app’s instructions to add the smart doorbell to your account.
4. Connect to Wi-Fi: Connect the doorbell to your Wi-Fi network.
5. Configure Settings: Set up motion detection zones, notifications, and other preferences.
11. Test the Doorbell
1. Press the Button: Test the doorbell to ensure it rings correctly and sends notifications to your device.
2. Check Video Feed: Ensure the video feed is clear and the doorbell captures the desired area.
Test Features: Verify two-way audio, motion detection, and any other features.
12. Maintain the System
1. Regular Checks: Periodically check the doorbell and app to ensure everything is functioning properly.
2. Clean the Lens: Keep the camera lens clean for a clear view.
.3 Update Firmware: Ensure the doorbell firmware is up to date for optimal performance and security.
By following these steps, you can successfully set up your smart doorbell and enjoy enhanced security and convenience at your front door.
